After audio cables age, the handling method should be comprehensively judged based on the degree of aging, the value of the cables and the usage scenarios, following the principles of safety first, environmental protection and recycling, and rational utilization. The following are specific handling suggestions:
1. Determine the degree of aging: Decide on the direction of treatment
Mild aging (repairable or temporarily usable)
Characteristics:
The outer skin is slightly hardened without any damage, and the interface is slightly oxidized (such as the RCA lotus head being slightly blackened).
The sound quality has slightly deteriorated (such as slightly dim high frequencies), but there are no serious issues like noise or disconnection.
Handling suggestions: Cleaning and maintenance + downgraded use.
2. Moderate aging (Functional limitations, use with caution)
Characteristics:
The outer skin is partially cracked (the wire is not exposed), and the flexibility of the wire material decreases (such as the rubber layer becoming brittle).
Occasionally, mono or poor contact occurs (such as noise when turning the plug of the 3.5mm headphone cable).
Handling suggestions: Targeted repair + restricted scenario usage.
3. Severe aging (must be phased out
Characteristics:
The outer sheath is severely damaged with exposed wires, the interface is broken/the pins are bent, the wire is overheated or short-circuited.
Completely no signal transmission (such as completely silent after being inserted into the device).
Disposal suggestion: Immediate scrapping + environmentally friendly recycling.
Ii. Treatment Plans for different degrees of aging
1. Mild aging: Cleaning, maintenance and downgrading utilization
Step 1: Clean the interface and cables
Tools: Anhydrous alcohol (purity ≥95%), cotton swabs, erasers (for metal contacts).
Operation:
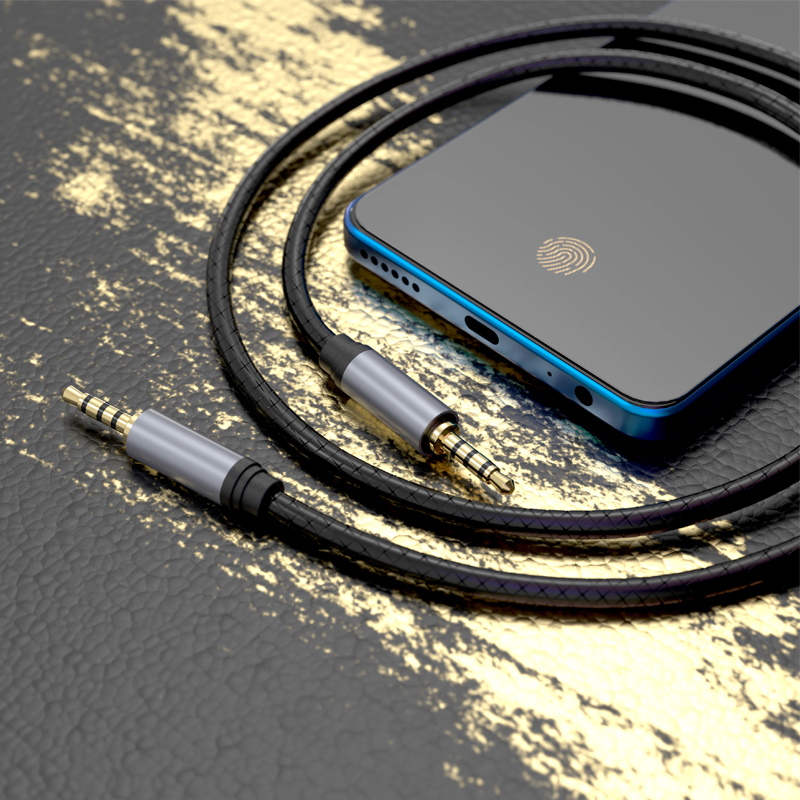
Use a cotton swab dipped in alcohol to wipe the metal contacts such as the RCA lotus head and 3.5mm plug to remove the oxide layer (Figure 1).
Gently rub the pins of the XLR cartridge with an eraser until the surface is shiny and free of black spots.
Wipe the outer skin of the wire with a dry cloth to remove dust and oil stains (to avoid alcohol corroding the rubber layer).
Step 2: Temporary repair and functional testing
Slight outer skin damage (no exposed lines) :
Wrap the damaged area with insulating tape (such as PVC electrical tape) and cover it in multiple layers to ensure insulation (Figure 2).
Functional test
Connect the device to play audio, check for any noise or disconnection, and confirm that the function will be restored after cleaning.
Step 3: Downgrade the usage scenario
Applicable scenarios:
Non-critical equipment or temporary needs (such as connecting an old mobile phone to a backup speaker to play background music).
Scenarios with short-distance transmission (≤5 meters) and low requirements for sound quality (such as a computer connected to a small desktop speaker).
Prohibited scenarios:
Professional recording, performance stages and other scenarios with high stability requirements.
Damp environments (such as bathrooms and kitchens) or devices that require long-term power supply (such as home theater amplifiers).
2. Moderate aging: Targeted repair and restricted use
Repair Method 1: Replace the interface
Applicable situations: Severe oxidation of the interface (such as the internal solder joints of a 3.5mm plug falling off), and bent pins that cannot be repaired.
Operation steps:
Use a wire stripper to remove about 2cm of the outer skin from the damaged end of the wire to expose the internal wires (note to distinguish between the ground wire and the left and right channel wires).
Weld new interfaces (such as 3.5mm TRS plugs, RCA lotus heads), ensuring that the weld points are firm and the insulation layer is properly wrapped (Figure 3).
Test: Insert the device, rotate the bent part of the cable, and check if the signal is interrupted due to internal disconnection.
Repair Method 2: Reinforce the vulnerable points of the wire
Applicable situation: The outer sheath of the wire cracks at the bent part (such as the part of the headphone wire close to the plug).
Operation steps:
Cut a section of heat shrink tubing (with a diameter slightly larger than that of the wire) and put it over the cracked area.
Heat the heat shrink tube evenly with a hot air gun or lighter to make it tightly wrap around the wire (Figure 4).
Note: To avoid excessive heating causing the wire to melt, the lighter should be kept at a distance of more than 10cm.
Restricted usage requirements
Usage duration: Do not use continuously for more than 4 hours at a time to prevent the wire from aging faster due to heat generated by current.
Regular inspection: Visually inspect the repaired area every week to see if it cracks again or if new damage points appear.
3. Severe aging: Scrapping and environmental recycling
Situations that must be scrapped
Exposed wires, short circuit tripping, and interface breakage that cannot be repaired.
The wire gets significantly hot (such as the speaker wire feeling hot to the touch), or gives off a burnt plastic smell.
Safe scrapping steps
Power-off and cable removal: Pull out the cables from the device to ensure no current passes through (especially for active speaker cables and integrated power cables).
Damage key components: Cut the wire and peel off the outer sheath, cut the internal wires (to prevent others from accidentally touching the exposed metal and causing danger).
Sort and discard:
Recyclable part:
Metal wires (copper, aluminum) should be placed in the “Metal Waste” category.
The plastic outer skin and rubber layer should be placed in the “Recyclable Plastics” category (in some areas, the recycling of PVC and PE materials is supported).
Non-recyclable parts:
Mixed materials (such as aluminum foil for shielding layers + woven mesh), glue residues, etc., should be placed in “Other Waste”.
Environmental protection recycling channels
Electronic waste recycling points: Contact your local community or home appliance store. Some offer free recycling services (such as Suning and Gome’s trade-in program).
Brand official recycling: Some audio brands (such as Sennheiser and SONY) have launched cable recycling programs. When mailing old cables, you can get discount coupons.
DIY reuse (only under safety conditions) :
Strip the internal copper wire and use it to handcraft the connection wires for small electrical appliances (such as the power cord for homemade LED lights).
Heat shrinkable tubes, insulating tapes and other accessories can be disassembled and stored for the repair of other wires.
Iii. Practical Tips for Preventing Aging
1. Daily maintenance
Avoid excessive bending: The bending radius of the wire should not be less than five times its diameter (for example, for a 3.5mm wire with a diameter of 2mm, the bending radius should be ≥10mm).
Moisture-proof and sun-proof: Do not expose the wires to direct sunlight or damp environments (such as balconies and bathrooms). Seal them in plastic bags when storing.
Regular cleaning: Wipe the wires with a dry cloth every 3 to 6 months, and disinfect the interfaces with alcohol cotton swabs (especially the headphone wires and microphone wires).
2. Store correctly
No knotting or winding: Use the “8-shaped winding method” or wire storage boxes to reduce damage to the internal wires (Figure 5).
Identification and classification: Label HDMI, XLR and other cables, indicating the purpose (such as “Projector Dedicated”, “Stage Microphone”), to avoid frequent plugging and unplugging wear and tear.
3. Choose durable wires
Material priority:
The conductor is selected as oxygen-free copper (OFC) or single crystal copper (OCC), which has high electrical conductivity and strong oxidation resistance.
The outer skin is made of TPE (thermoplastic elastomer) or nylon braided, which is more resistant to bending and wear than ordinary PVC.
Shielding design: For high-frequency transmission (such as HDMI, coaxial audio cables), multi-layer shielding (aluminum foil + metal braided mesh) is selected to reduce the accelerated aging caused by electromagnetic interference.
Iv. Suggestions for Handling Special Scenarios
Professional audio cables (such as XLR, TRS)
After aging, contact the equipment manufacturer for repair first (for example, Shure microphone cables can be returned to the factory to replace the original factory plug).
If the maintenance cost is too high, when scrapping, professional interfaces such as Canon heads should be cut off to prevent non-professionals from misusing and damaging the equipment.
2. Two-in-one charging audio cable (such as Lightning headphone cable)
When charging overheating or audio disconnection occurs, immediately stop using it, as the aging of the internal integrated chip may cause a short circuit in the device.
It is not recommended to disassemble and repair it by yourself. It can be directly recycled through official channels (such as the Apple Trade In program).
3. In-car audio cables (such as AUX cables)
Aging is faster in high-temperature environments. If you find that the cables have become hard or the interfaces have become loose, they should be replaced in time to avoid affecting the music playback or call function while driving.
Post time: May-10-2025